Trip Report - Mt Shasta Clear Creek
Intro
Mt. Shasta is Northern California’s far and away most prominent peak. The headwaters of the Sacramento flow out of a hillside spring in the nearby town of Shasta City. Shasta’s prominence is magnetic. The mountain stands out in the surrounding landscape proudly. It is apparent on the streets of Shasta that the magnetism applies as much to hippies and flower-children as to mountaineers. Their shared enthusiasm for this beautiful and remote section of the state is understandable once you step out into this natural wonderland.
Route Overview
The many routes up Shasta. In July-August, Clear Creek, our route of choice becomes hike-able. The other popular route, Avalanche Gulch, is a death sentence this time of year due to rockfall. Clear Creek may be a non-technical hike, but it is long, steep, and on scree. Overall, I’d recommend it if someone was looking for a non-technical route up a 14,000’ in the region.
Length: 12 miles
Elevation: ~7,200'
Gear List
- Trekking Poles
- Rock/Mountaineering Helmet
- Water Filter
- Hiking Backpack
- 0°C Bag (This ended up being overkill.)
- Sleeping Pad
- Tent (This is not strictly necessary as there are plenty of areas to cowboy camp sheltered by rocks.)
- Bear Vault (There don’t actually seem to be any bears present, but there were field mice scoping out our base camp.)
- 3.5-4L of water capacity.
- Camp Stove
- Wag Bag (Provided at the trailhead for free.)
- Cash ($25 for the summit pass sold at trailhead.)
Water Sources
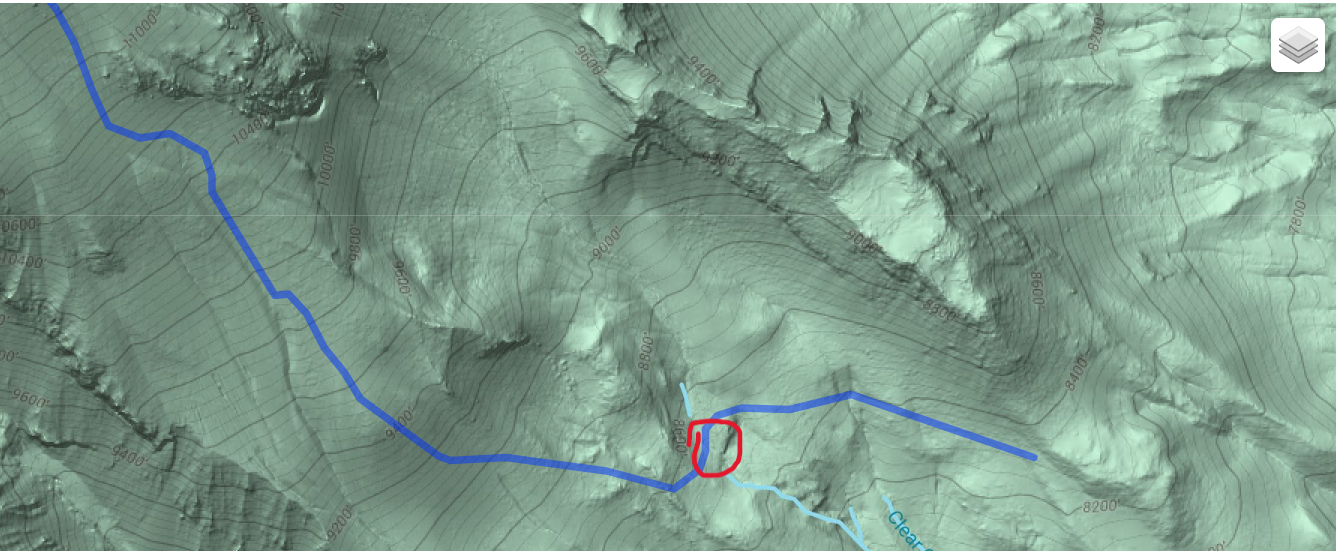
There is no water at the trailhead, and you will not reach water until you hit Clear Creek at about 4 miles in. Most people camp at Clear Creek. There are no more water sources on the route except for slight bits of runoff from snow fields, so make sure you leave base camp with 3-4L of water per person.
Hike To Base Camp (~ 2 hrs)
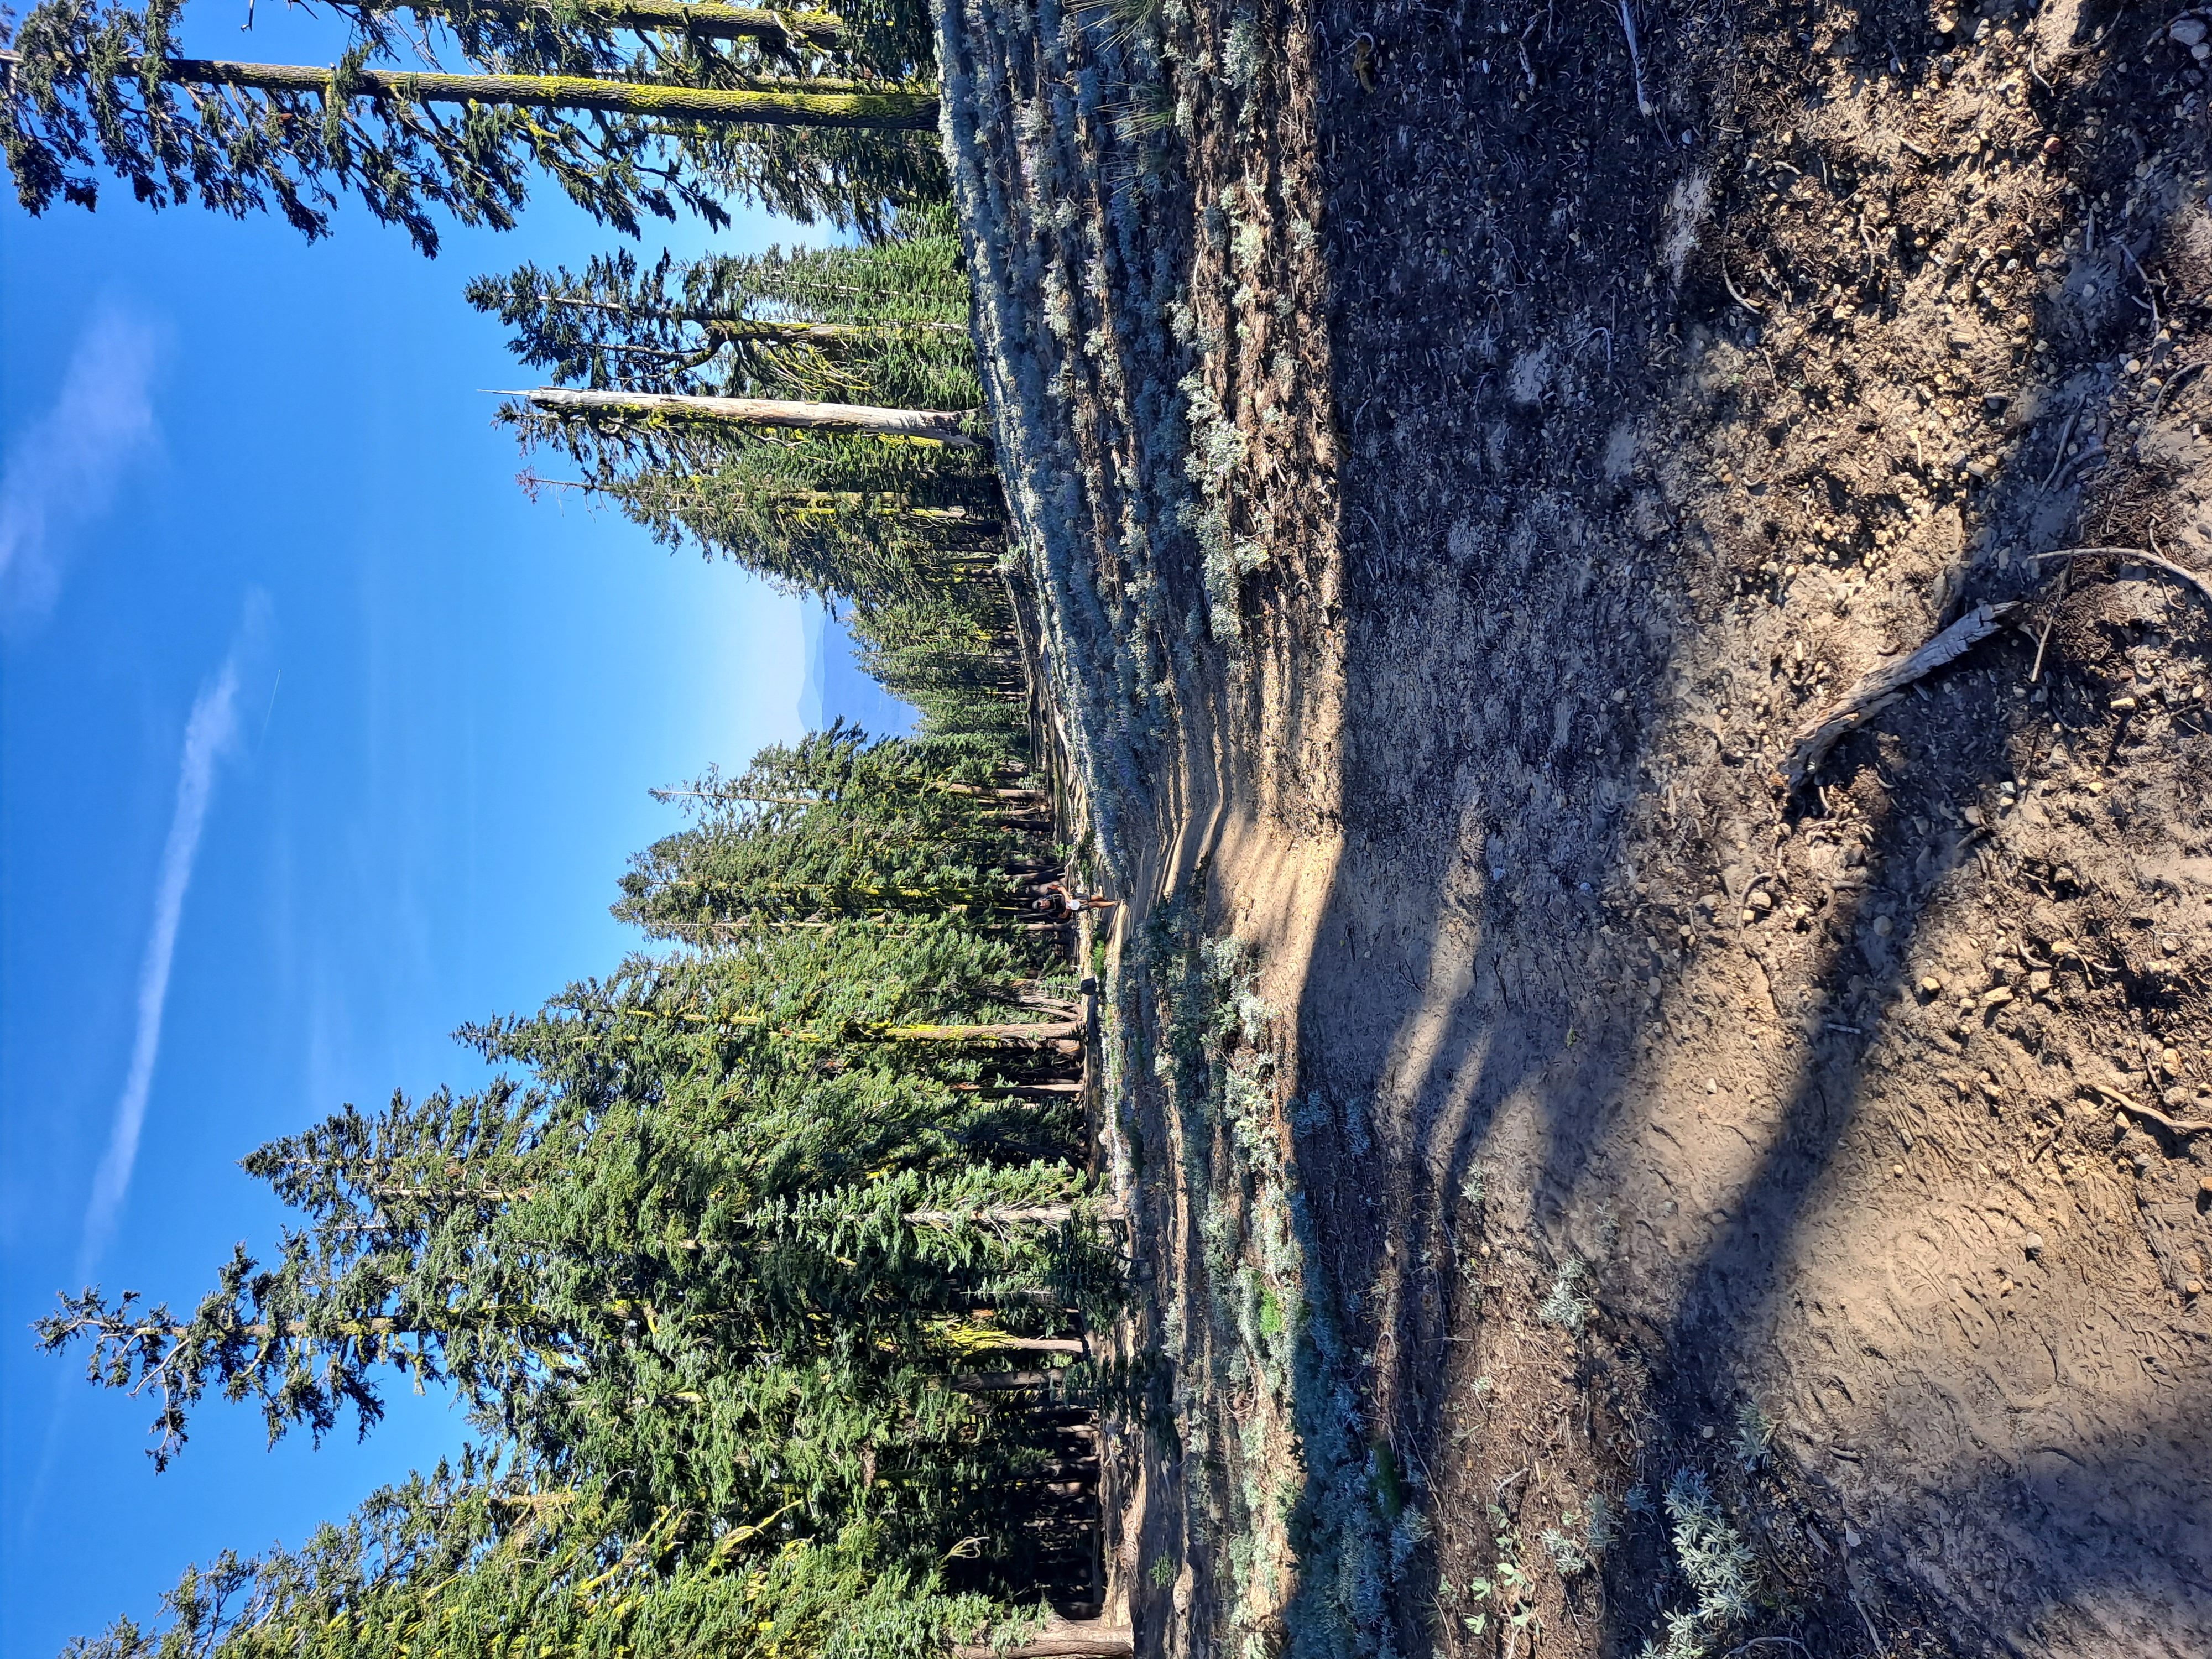
The trailhead starts within the treeline. This trip, there was a section of impassable dirt road for my sedan at about a 1/4 mile from the trailhead, so beware. The first section gains about 2,000’ on a real, maintained trail. Once you get above the treeline and cross Clear Creek, there are great camping options.
Make sure to camp 100’ from the spring!
From here, get an early bedtime. We started off around 3AM, and didn’t make it back until 5PM.
Base To Summit To Car (~ 14 hrs)
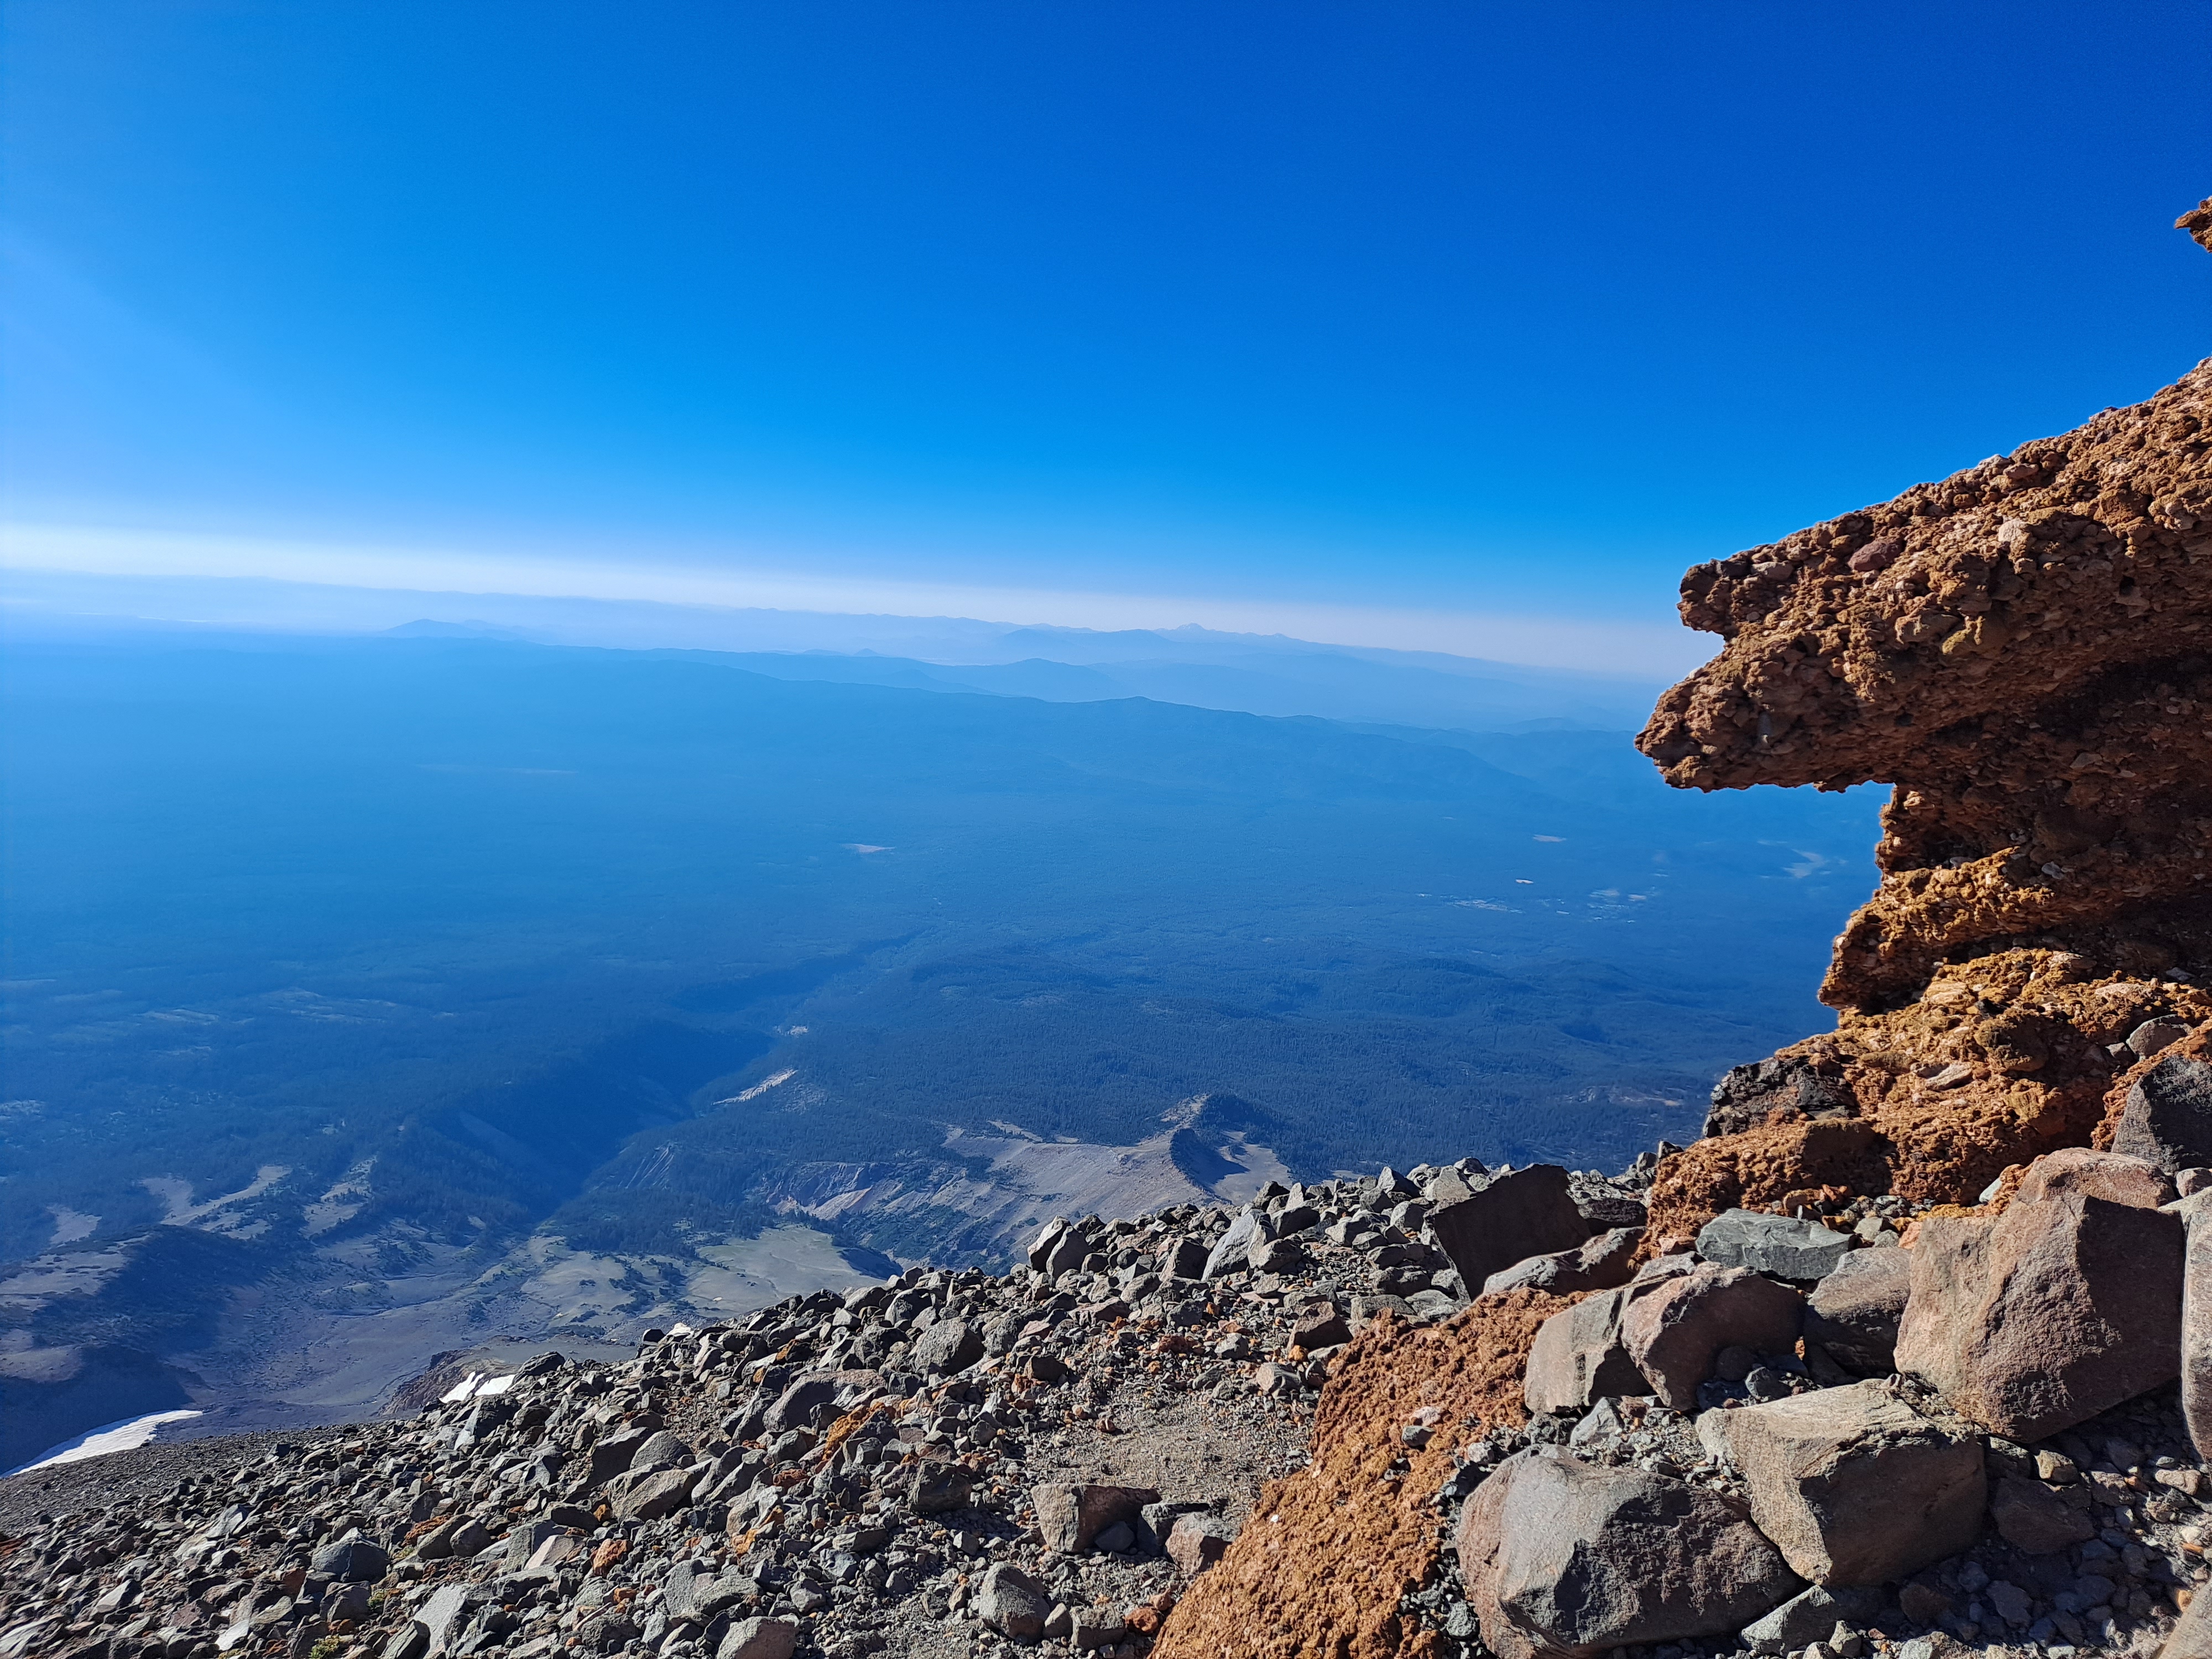
Once you leave basecamp and start heading up, there are two main options for switchbacks up. One veers off to the west and the other to the east. We took both, and the eastern one is far less steep and has less loose scree. Because of that I’d recommend ascending that way. Once past the first set of rocky outcroppings, the rest of the route is fully exposed all the way up to Mushroom Rock. Mushroom Rock is a visible red rock at about 12,000-13,000’. It makes a great place to rest and shelter from the elements before making the final push to the summit.
After Mushroom Rock, a slog up a steep, rocky section comes up. There are drainages full of loose scree and dirt that are very slippery. Altneratively, there’s plenty of rock to scramble, but it loves to break off!
Once past the rocky section, the craggy true summit comes into view. There’s a couple of hills in the way, but once you crest them you simply walk along the caldera to the north end of the true summit. From the north end, there’s an easy walk up.

I attempted to take the talus field up from the west of the true summit. I succeeded, but it was a bit perilous with all of the loose rock. Once you summit, enjoy the view and relax before a knee-crushing journey back to your car!
Buyer Beware!
At base camp, a rather exhausted man with his visibly shaky friend in tow came trotting up to us and asked for water. He had clearly been out of water for quite some time and seemed to be carrying only one small, disposable plastic water bottle. They had started at 2AM that day from the trailhead, and it was now 6PM. This is a long hike for most people. Please bring enough water!